Sabtu, 15 Oktober 2016

Install Check MK Agent in solaris

  1 komentar


Downloaad check_mk_agent.solaris from your monitoring server

Copy and rename this file to /usr/bin/check_mk_agent

Edit permission (chmod) the check_mk_agent file

Testing the server by typing check_mk_agent

Edit by typing => vi /etc/services
and add following text

check_mk        6556/tcp    # check mk agent

Now for Solaris we need to edit by typing => vi /etc/inet/inetd.conf
and add following text

check_mk      stream       tcp      nowait     root    /usr/sbin/tcpd     /usr/bin/check_mk_agent

Enter these commands at the shell, it should not receive any errors.

# inetconv
# inetconv -e

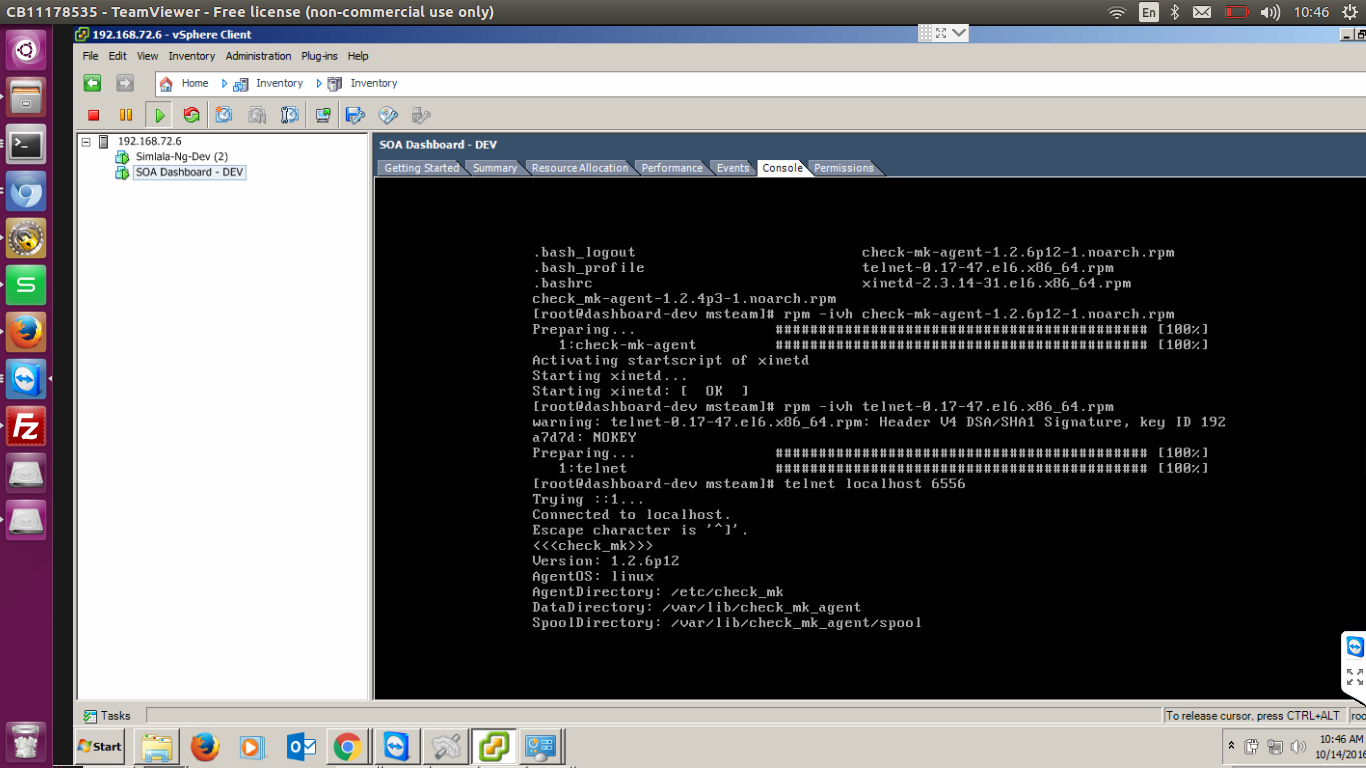
Testing the server by typing telnet localhost 6556

Fast way to install check mk agent in centos 6

  Tidak ada komentar
1. Upload file xinetd.rpm, check_mk_agent.rpm and telnet.rpm to Server


2. chmod the file xinetd.rpm, check_mk_agent.rpm by typing chmod 700 filename.rpm
3. install file xinetd.rpm by typing rpm -ivh xinetd.rpm
4. install file check_mk_agent.rpm by typing rpm -ivh check_mk_agent.rpm
5. install file telnet.rpm by typing rpm -ivh telnet.rpm


6. Restart the xinetd service by typing service xinetd restart
7. Testing the agent by typing check_mk_agent
8. look at the result if success
9. Testing by typing telnet localhost 6556
10. look at the result if success


11. check status firewall by typing service iptables status
12. if iptables is running
13. Open port 6556 in centos firewall by typing vi /etc/iptables and enter this word iptables -A INPUT -p tcp -m tcp --dport 110 -j ACCEPT

Sabtu, 01 Oktober 2016

Install SNMP and SNMP Utilities

  Tidak ada komentar

Install SNMP and SNMP Utilities

Installing SNMP and some optional SNMP utilities is as simple as running one command:
yum -y install net-snmp net-snmp-utils


Add a Basic Configuration for SNMP

Now, let’s take the default SNMP configuration file, /etc/snmp/snmpd.conf and move it to an alternate location, /etc/snmp/snmpd.conf.orig.
cp /etc/snmp/snmpd.conf /etc/snmp/snmpd.conf.orig
And now we’ll create a new /etc/snmp/snmpd.conf:
vi /etc/snmp/snmpd.conf

##### First, map the community name "public" into a "security name"#       sec.name  source          community#com2sec notConfigUser  default      publiccom2sec notConfigUser  192.168.74.0/24      publiccom2sec notConfigUser  192.168.74.0/24      w4ch1dc0nf1gCOmmunity##### Second, map the security name into a group name:#       groupName      securityModel securityNamegroup   notConfigGroup v1           notConfigUsergroup   notConfigGroup v2c           notConfigUser
##### Third, create a view for us to let the group have rights to:
# Make at least  snmpwalk -v 1 localhost -c public system fast again.#       name           incl/excl     subtree         mask(optional)view    systemview    included   .1.3.6.1.2.1.1view    systemview    included   .1.3.6.1.2.1.25.1.1##### Finally, grant the group read-only access to the systemview view.#       group          context sec.model sec.level prefix read   write  notifaccess  notConfigGroup ""      any       noauth    exact  systemview none none# -----------------------------------------------------------------------------


the end